Fun Projects to Build with Your Kids Using Raspberry Pi
The Raspberry Pi is one of the best tools for getting kids into tech. It's cheap, it's hands-on, and it turns abstract coding concepts into something they can actually see and touch. Here are 5 projects you can build together over a weekend.
NFC Sound Box
A magical, interactive sound box for kids. When a special object (with a hidden NFC tag) is placed on top of the box, the Raspberry Pi inside identifies it and plays a corresponding sound effect or audio clip. It's a fun way to learn about cause-and-effect and basic electronics, turning simple toys into an enchanting storytelling experience.
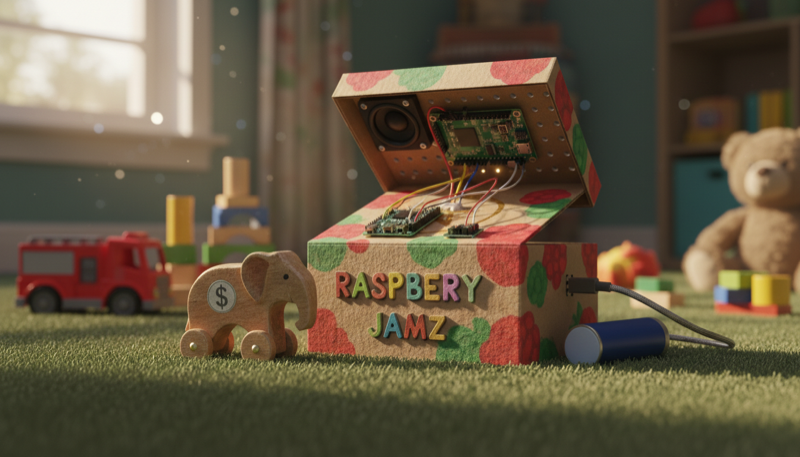
Place a toy on the box and it plays a matching sound. Each object has a hidden NFC tag that the Raspberry Pi reads and responds to.
Components:
- Raspberry Pi Zero 2 W
- PN532 NFC/RFID Module
- Adafruit Speaker Bonnet
- Small Speaker (3W, 4 ohm)
- NFC Tags (NTAG213 or NTAG215 stickers)
- Micro SD Card
- USB Power Supply
- Wooden or cardboard enclosure
Build it:
- Set up Raspberry Pi OS Lite on the SD card and enable SPI and I2C interfaces
- Wire the PN532 NFC module to the Pi's SPI pins (MOSI, MISO, SCLK, CE0)
- Attach the Speaker Bonnet to the Pi's GPIO header and connect the speaker
- Install the required Python libraries: pi-rc522 or similar NFC library, and pygame for audio playback
- Write a Python script that polls the NFC reader, matches each tag's unique ID to an audio file, and plays it through the speaker
- Program each NFC tag with a unique ID and stick them to the bottom of toys, cards, or figurines
- Build an enclosure from wood or cardboard, mount the NFC reader flush with the top surface, and hide the Pi and speaker inside
- Let the kids pick which sounds go with which toys
Photo Booth
Build a fun, portable photo booth with your kid! This project uses a Raspberry Pi, a camera, and a big arcade button to create a classic photo booth experience. Press the button to start a countdown on the screen, strike a pose, and the camera will snap a series of photos. The final photo strip is displayed on the screen and saved, making it a great interactive project for parties or just for fun. It's an excellent way to learn about Python programming, connecting hardware, and using the Raspberry Pi camera.
Hit the big arcade button, a countdown starts on screen, and the camera snaps a series of photos. The final strip shows up on the display and gets saved automatically.
Components:
- Raspberry Pi Zero 2 W
- Raspberry Pi Camera Module
- 3.5" or 5" TFT Display
- Arcade Push Button (with LED)
- Micro SD Card
- USB Power Supply
- Enclosure (cardboard, wood, or 3D printed)
Build it:
- Set up Raspberry Pi OS on the SD card and enable the camera interface
- Connect the camera module via the Pi's CSI ribbon cable
- Attach the TFT display to the GPIO header or via HDMI depending on the model
- Wire the arcade button to a GPIO pin for input and connect its built-in LED to another GPIO pin
- Install Python libraries: picamera2 for camera control, Pillow for image processing, and pygame or tkinter for the display UI
- Write a Python script that listens for the button press, shows a 3-2-1 countdown on the display, captures a burst of photos, arranges them into a photo strip, and displays the result
- Build an enclosure with a hole for the camera lens, a window for the display, and the arcade button mounted on front
- Set the script to auto-start on boot so it's ready to go at parties
Magic Story Box
A fun and interactive project to build with your child. This Magic Story Box uses a Raspberry Pi and colorful arcade buttons to play different stories, songs, or sound effects. When a button is pressed, a pre-loaded audio file plays through a speaker. It's a wonderful introduction to basic electronics and coding, and you can customize it with your own recordings or favorite audio clips.
A box with colorful arcade buttons on top. Each button plays a different story, song, or sound effect through a built-in speaker.
Components:
- Raspberry Pi Zero 2 W
- I2S Amplifier Board (e.g., MAX98357A)
- Small Speaker (3W, 4 ohm)
- 4x Arcade Push Buttons (different colors)
- Micro SD Card
- USB Power Supply
- Wooden craft box or cardboard enclosure
Build it:
- Set up Raspberry Pi OS Lite on the SD card
- Wire the I2S amplifier to the Pi's GPIO pins (BCLK, LRCLK, DIN) and connect the speaker to the amp output
- Configure I2S audio output in the Pi's config files
- Wire each arcade button to its own GPIO pin, with a common ground
- Install Python libraries: pygame for audio playback and RPi.GPIO for button input
- Write a Python script that maps each button to a specific audio file. When a button is pressed, the matching story, song, or sound effect plays through the speaker
- Load up the SD card with audio files: record your own stories, download audiobook chapters, or add the kids' favorite songs
- Mount everything inside a wooden box. Drill holes for the buttons on top, cut a small opening for the speaker
- Set the script to run on boot so the box works as soon as it's plugged in
- Let the kids pick the sounds and decorate the box
Twin Turbo Reaction Game
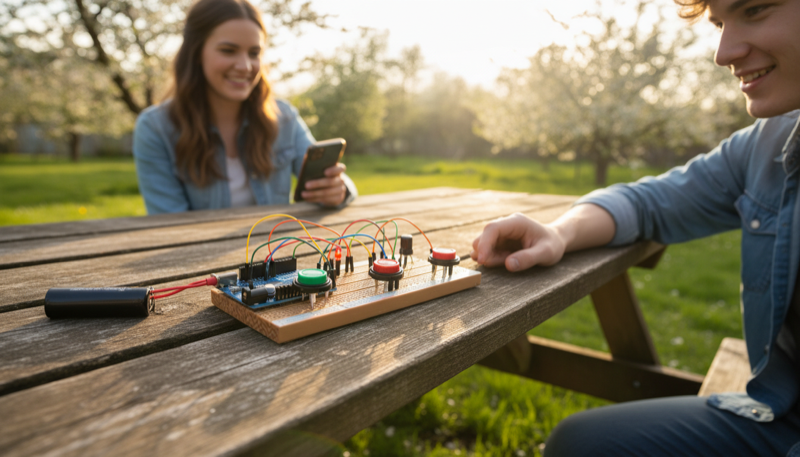
A fun and competitive two-player reaction game for your twins, powered by a Raspberry Pi. A central 'Go' light will illuminate after a random delay. The first player to slam their arcade button wins the round, and their personal light flashes in victory! It's a fantastic way to learn basic electronics and Python programming while having a blast.
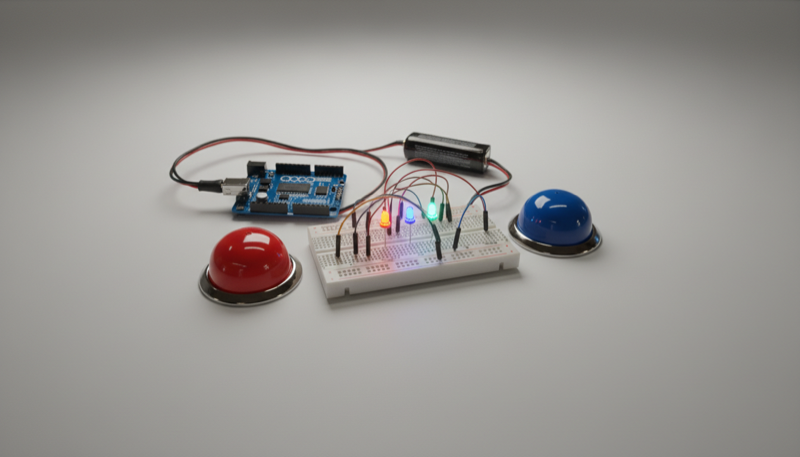
A two-player reaction game. A central LED lights up after a random delay. First player to slam their button wins, and their victory light flashes.
Components:
- Raspberry Pi Zero 2 W
- Solderless Breadboard
- 2x Arcade Push Buttons
- 3x LEDs (1 central "Go" LED, 2 player LEDs)
- 3x 220 ohm Resistors
- Jumper Wires
- USB Power Supply
Build it:
- Set up Raspberry Pi OS on the SD card
- Wire the central "Go" LED to a GPIO output pin through a 220 ohm resistor
- Wire each player's victory LED to its own GPIO output pin, each through a 220 ohm resistor
- Wire each arcade button to a GPIO input pin with a pull-down or pull-up resistor configuration
- Install Python and use RPi.GPIO or gpiozero for controlling the LEDs and reading button presses
- Write a Python script that: turns off all LEDs, waits a random delay (2 to 5 seconds), lights up the central "Go" LED, then reads both buttons. The first player to press wins, and their LED flashes. If someone presses early, they get a "false start" penalty
- Add a score counter that tracks rounds and announces an overall winner after a set number of rounds
- Mount the buttons and LEDs in a sturdy enclosure or on a board so the kids can really slam those buttons
- Set the script to auto-start on boot for instant play
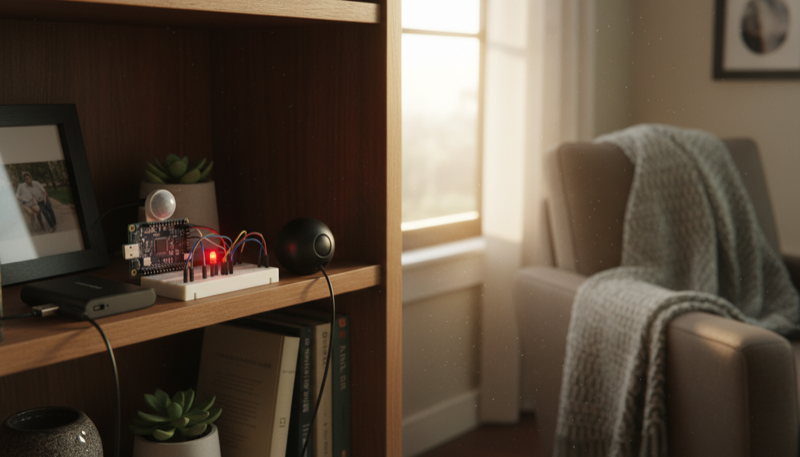
Room Sentry
Build a motion-activated alarm to guard your room! This project uses a Raspberry Pi, a PIR motion sensor, and a bit of Python code. When an intruder is detected, the Raspberry Pi flashes a bright LED and plays a loud alarm sound through a speaker. It's a fantastic beginner project for kids and adults to learn the basics of physical computing, GPIO pins, and programming in a fun, interactive way.
A motion-activated room alarm. When someone walks in, the Pi detects them with a PIR sensor, flashes an LED, and blasts an alarm sound through a speaker.
Components:
- Raspberry Pi Zero 2 W
- HC-SR501 PIR Motion Sensor
- Bright LED (red or white)
- 220 ohm Resistor
- Small Speaker or Buzzer
- Micro SD Card
- USB Power Supply
- Enclosure (optional)
Build it:
- Set up Raspberry Pi OS on the SD card
- Wire the PIR motion sensor: VCC to 5V, GND to GND, signal pin to a GPIO input pin
- Wire the LED to a GPIO output pin through a 220 ohm resistor
- Connect a speaker via the Pi's audio jack, or wire a passive buzzer directly to a GPIO pin
- Install Python and use RPi.GPIO or gpiozero for hardware control, and pygame for playing alarm sounds
- Write a Python script that monitors the PIR sensor. When motion is detected, it flashes the LED rapidly and plays an alarm sound through the speaker
- Add a cooldown timer so the alarm doesn't re-trigger immediately
- Optionally add an "arm/disarm" button so the kids can turn the sentry on and off
- Mount the PIR sensor so it faces the door, hide the Pi and speaker inside an enclosure, and position the LED where intruders can see it
- Set the script to run on boot for always-on protection
These projects are simple enough to finish in a weekend but cool enough that the kids will actually want to use them. Each one teaches real skills: Python, wiring, GPIO, and problem solving. Click into any project for the full guide with code, wiring diagrams, and printable instructions.
Happy making!
Want a step-by-step project? Our automated plant watering guide combines sensors, a relay, and Python — a great hands-on learning experience.